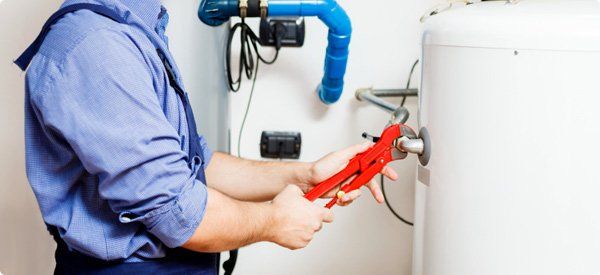
Here are the steps you should take:
1.) Locate the breaker or fuse box for an electrical heater. If you have a gas heater, find the thermostat.
- In order to start draining your water heater, you need to turn off the main power source.
2.) Then disable the circuit and fuse that powers the heater or switch the thermostat setting to “pilot” if you have a gas heater.
- Depending on your home and which circuit/fuse you disable, this might cease power not only to your water heater but also the entire house.
3.) Next you need to turn off the cold water supply by rotating the water shut-off valve clockwise.
- The valve is usually located near the cold water inlet pipe which is at the top of the tank.
4.) Now you can open the hot water faucet in your sink or tub.5.) Attach a garden hose to the drain or valve located at the bottom of the heater.
- The valve usually looks like a garden faucet.
- If you can’t find it, it might be hidden by a removable cover.
6.) Find a place where the water from the heater can safely drain and extend the garden hose there.
- Popular places would be an outside drain or into your driveway.
- If you want to save the water to use for other purposes, allow it to cool overnight in buckets.
- Remember though, you are draining hot water that may soften low-quality hoses or buckets.
7.) Now you can open the valve to allow the water to leave the heater.
- We encourage you opening the pressure-relief valve (usually a lever on the top of the unit) to allow water to flow freely. Do not do so without placing a bucket under the discharge pipe!
8.) Test the water by filling a test bucket with the flushing water after a few minutes of flushing. After a minute or so check to see if there are any particles that settle to the bottom.
- If you see this material or if the water is discolored, then continue to drain the tank until the water is clear.
9.) If everything seems clean, you can now close the valve and remove the hose.
- Don’t forget to turn off the hot water faucet that you previously turned on in your sink.
10.) Now you can turn the water supply back on in order to let the tank fill.
- After the tank is full, you can slowly reopen the pressure-relief valve.
- After the compressed air seems to have escaped, you can re-close the pressure valve.
11.) Close the water heater drain, but do not turn on the power yet.12.) Now you can turn the water supply back on and wait until hot water begins to run.
- When the tap is running at full capacity, it becomes safe to turn on the circuit/fuse.
13.) The last thing to do is to turn off the tub spigot and wait 15 to 20 minutes before testing the hot water at the bathtub. Make sure to listen to the water heater to see if it is working.
It is important to be careful throughout the entire procedure, because the water might be extremely hot! Flushing your system regularly will keep your heater free of debris. If you have any questions about it or don’t feel comfortable doing the procedure by yourself, don’t hesitate to call Gillece!


